What should you check in a riser cupboard?
- Every seal labelled and photographed
- BM TRADA / FIRAS-certificated contractors
- Written price before any work
Open the riser cupboard on a landing and look down at the floor of it, then up at the ceiling. Those two surfaces are concrete slabs in most blocks, and they separate this floor from the one below and the one above. Everything that serves the flats passes through them: the soil stack, water pipes, electricity cables, data cables, sometimes gas.
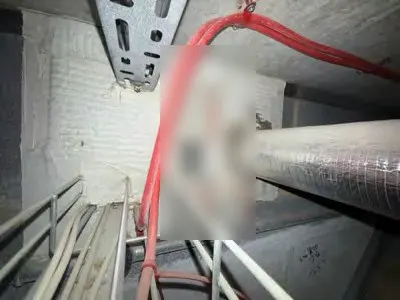
Around each service there should be a seal. Collars on the plastic pipes, usually on the underside of the slab, so you may only see them from the cupboard below. Mastic around copper pipes and single cables. A coated batt, grey or white, filling any larger opening around a cable tray or a bundle of cables, with mastic on the joints. Ideally a small label beside each one.
What you do not want to see: daylight from the floor below, foam of any colour heaped around a bundle of cables, plastic pipes with nothing round them but a ring of mortar, or new cables pushed through a batt with a ragged hole left round them. Look at the walls of the riser as well, where cables leave it to go into each flat.
If you are not sure what you are looking at, take photos of the floor and the ceiling of each riser with a tape measure in the shot. That is often enough for a fire stopping contractor to tell you whether the risers need work.
Send the postcode, the type of building and a photo of the gap with a tape measure in the shot. We reply with what it needs and a written price.